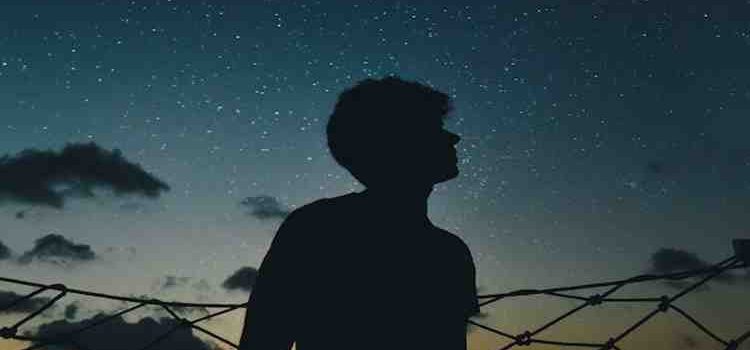
Are you a photography enthusiast looking to take your night photography to the next level? Look no further! In this article, we will be discussing tips and tricks for capturing stunning night photography.
From the right equipment to post-processing techniques, we will cover everything you need to know to create beautiful and unique photos of the night sky. So grab your camera and let’s get started!
Table of Contents:
- Equipment
- Settings
- Composition
- Post-processing
- Capturing Stunning Night Photography
Equipment
When it comes to night photography, the right equipment can make all the difference. A camera with manual controls and the ability to shoot in low light is essential. A full-frame camera with a high ISO range is ideal, but a crop-sensor camera can also work well with the right lens. A wide-angle lens is a must for capturing the vastness of the night sky, and a fast lens (f/2.8 or lower) will allow for more light to enter the camera. A sturdy tripod is also crucial for keeping your camera steady during long exposures.
In addition to your camera and lens, a remote shutter release or self-timer can help you avoid camera shake when taking the shot. A flashlight or headlamp can also be useful for navigating and setting up your shots in the dark. Don’t forget extra batteries and memory cards, as night photography can drain your batteries and fill up your memory cards quickly.
Settings
When it comes to settings, the key is to let in as much light as possible while keeping your shutter speed slow enough to capture the movement of the stars. Start by setting your camera to manual mode and adjusting your ISO to a high setting (between 800 and 3200 is a good starting point). Keep in mind that a higher ISO will result in more noise in your image, so you’ll want to balance the amount of noise with the amount of light you’re allowing in.
Next, adjust your aperture to a low number (f/2.8 or lower) to allow more light into the camera. Finally, set your shutter speed to around 15-20 seconds to capture the movement of the stars without overexposing the image. Keep in mind that the longer your shutter speed, the more star trails you will capture.
It’s also important to note that some camera have built-in noise reduction features, which can be helpful in reducing noise in your images. However, it can also slow down the process of capturing multiple shots.
Composition
The composition of a night photograph is just as significant as the technical aspects. When composing your shot, look for elements that will add interest and depth to the image, such as trees or buildings in the foreground. This can also be great way to ground the image and add some context to the scene.
You can also use the rule of thirds to create a balanced and pleasing composition. This means placing the horizon on one of the top or bottom thirds of the frame, and positioning any interesting elements in the other two thirds of the frame.
Another useful aspect to consider is the direction and strength of the light sources in the scene. The light from a full moon, for example, can be used to illuminate the foreground and add a sense of depth and movement to the image. On the other hand, light pollution from a nearby city can wash out the stars and make the image less dramatic.
Post-processing
After you’ve captured your shots, it’s time to bring out the best in them through post-processing. The first step is to import your images into your photo editing software, such as Lightroom or Photoshop.
Next, adjust the exposure, contrast, and white balance to bring out the details in the image. Be careful not to overdo it, as this can lead to an unnatural or over-processed look.
One of the key things to focus on in post-processing is noise reduction. As mentioned earlier, high ISO settings can result in noise in your images. Use the noise reduction tools in your editing software to reduce the appearance of noise while still maintaining the overall detail in the image.
Another important aspect to consider is color correction. Nighttime photography often results in a blue or purple cast to the image due to the lack of sunlight. Use the color correction tools to adjust the hue, saturation, and luminance of the image to create a more natural and balanced color palette.
Finally, consider adding a bit of sharpness and clarity to bring out the details in the stars and other elements in the image.
Capturing Stunning Night Photography
Night photography can be a challenging but rewarding endeavor. By following these tips and tricks for equipment, settings, composition, and post-processing, you’ll be able to capture stunning and unique images of the night sky.
Remember to experiment and have fun with your photography, as the best images often come from taking risks and trying new things.

