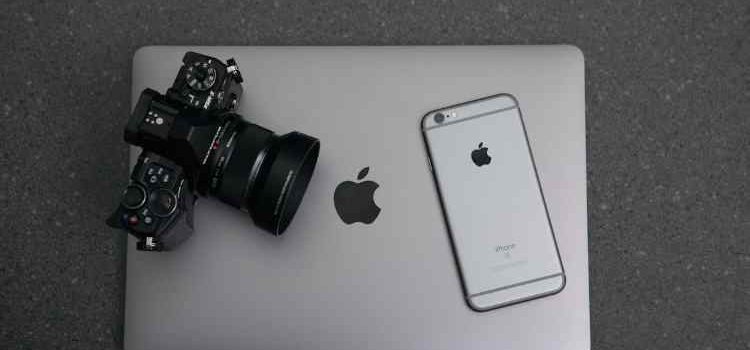
iPhones are popular in Canada. Some swear by them. A lot of the cost in an iPhone is tied up in the camera technology in the phone. Although most will never use their phone for professional photography, the camera is much more powerful than those being used professionally not too long ago.
In this article, we will explore the features and techniques that can be used to capture professional-looking photos with your iPhone. Whether you’re a hobbyist or a professional photographer looking to expand your skill set, the iPhone camera can be a powerful tool for capturing stunning photos.
With a few simple tips and tricks, you can take your iPhone photography to the next level. Let’s discuss the details below.
Understanding Shooting Modes
The iPhone camera offers a variety of shooting modes that can be used to capture professional-looking photos. There are probably more modes available than you will ever use. Apple has provided an exhaustive list but we will discuss a few important once below
- The first and most basic mode is the “Automatic” mode, it will automatically adjusts the settings for you based on the scene, this is great for beginners.
- The second mode is “Manual” mode, which gives you complete control over the settings of the camera, such as shutter speed, ISO, and white balance. With manual mode, you can fine-tune the exposure and focus to achieve the perfect shot.
- The third mode is “Portrait” mode, which uses advanced camera technology to create a blurred background, also known as bokeh, for professional-looking portrait photos.
- The fourth mode is “Panorama” mode, which captures a series of photos that are stitched together to create a wide-angle panoramic shot.
Composing Photos
Composition is key when it comes to capturing professional-looking photos. There are a few simple techniques that you can use to improve the composition of your photos:
- The Rule of Thirds is a basic principle of photography that states that the subject of the photo should be placed along one of the intersections of the gridlines that divide the frame into thirds. This creates a sense of balance and symmetry in the photo.
- Leading lines can also be used to guide the viewer’s eye through the photo and draw attention to the subject. Lines such as roads, streams, or fences can be used to create a sense of movement and depth in the photo.
Lighting
Lighting is one of the most important elements of photography as we all know. No one likes dark photos lacking detail. The way light falls on the subject of the photo can make a major difference to the result.
- Natural light is the best way to take photos but sometimes it might be difficult to find a suitable light source.
- The iPhone flash is not always the best option when it comes to lighting but it can be used as a fill flash to brighten up shadow areas in a photo.
- Understanding the different types of light, such as warm light and cool light, and how they affect the color and mood of a photo is important.
Editing and Post-processing
Once you’ve captured your photos, there are a number of apps and tools that you can use to enhance and edit them: Most people don’t just upload to Instagram or Twitter, then crop the images and do other tweaks, then send it off to be shared.
- Lightroom is one of the most popular photo editing apps available. It allows you to adjust the exposure, contrast, color, and other settings of your photos.
- Photoshop is another popular tool for editing and post-processing photos. It offers a wide range of features and tools for adjusting and retouching photos.
Working with Different Types of Photography
Each type of photography has its own set of challenges and techniques. What you typically do indoors probably won’t work the same way outdoors. Also there are definite nuances between wildlife photos and nature photos.
Here are a few tips for working with different types of photos:
- Portrait photography requires you to focus on the subject of the photo, usually the person or people in the photo, and capture them in a flattering and engaging way.
- Landscape photography is about capturing the beauty and grandeur of the natural world. A wide-angle lens and a tripod can be very useful in this type of photography to capture more details and depth.
- Still life photography can be a good opportunity to capture small object, showing details and textures in a creative way.
- Street photography captures the candid, often unposed moments of people in public spaces. It requires a good knowledge of composition and timing.
Accessories
There are several accessories that can help you take better photos with your iPhone:
- Tripods and stabilizers can help you take sharp, steady shots.
- External lenses, such as telephoto or wide-angle lenses, can be attached to the iPhone camera to capture different types of shots that would not be possible with the built-in lens.
- Flash can be used to add more light to a scene, it can be particularly useful in low-light situations.
Organizing and Managing Photos
Taking photos with your iPhone can quickly fill up your storage, so it’s important to organize and manage your photos.
- Creating albums and using tags to organize your photos can make it easier to find the photos you want.
- Backing up your photos to a cloud service such as iCloud or Google Photos can ensure that your photos are safe and accessible from any device.
Sharing and Distribution
Once you’ve captured and edited your photos, you’ll want to share them with others.
- Social media platforms like Instagram and Facebook are great for sharing your photos with friends and family.
- Platforms such as 500px and flickr can also be used to share your photos with a wider audience, including other photographers and potential clients.
Conclusion
Capturing professional-looking photos with an iPhone is possible with the right knowledge and techniques. With the above tips, you’ll be able to take advantage of the advanced camera technology on the iPhone and improve your photography skills. Remember to keep experimenting, learning, and practicing for the best results.